Setting Up Single Sign-On (SSO) Redirect
SSO redirect enables you to authenticate users through your site before seamlessly routing them back to Chat Data to manage their designated chatbot. This feature is particularly valuable for resellers who want to provide their customers with access to chatbot settings and dashboard functionality without having to build these interfaces from scratch using our API.
As this feature is integrated with our whitelabeling system and specifically designed for resellers, it is exclusively available on the Enterprise plan, which includes all features from the Professional plan.
What features are included in the SSO Redirect?
After authentication via SSO redirect, users can access the chatbot settings with admin role privileges. The platform will display your whitelabeling domain, logo, and company name. All Chat Data branding will be removed to maintain your reseller identity. However, the following settings, integrations, and features are not available:
API Key Management: The current API key operates at the account level, not the chatbot level. Therefore, it cannot be exposed to users who are only authorized to manage a single chatbot under your account. In the future, we plan to implement chatbot-level API key management, which will allow us to provide API access to individual users.
Whitelabeling: Nested whitelabeling is not available as it adds system complexity and complicates customer support. We currently support only a single level of reselling.
Team Management: Since team management includes your account as the
adminand requires users to register directly with Chat Data, this feature is not available through SSO redirect (which bypasses the Chat Data registration process).Metering: This feature is unavailable because Stripe keys are configured at the account level rather than the chatbot level. We plan to implement chatbot-level Stripe key management in the future.
Facebook Products Integration: Integration with Messenger, Instagram, and WhatsApp is not available because users would see Chat Data's branding during the OAuth 2.0 login process. To enable this feature, you would need your own Facebook app with the required permissions, which is a complex process.
Slack Integration: Similar to Facebook integration, this feature is unavailable because users would see Chat Data's branding during the OAuth 2.0 process. Enabling this would require your own Slack app with appropriate permissions.
Zapier/Make/WordPress Integration: These integrations are not available as they would expose Chat Data's branding through our registered modules and plugins.
Maintaining white-label integrity is our top priority. We will not enable any features that might expose Chat Data's brand when we cannot control the white-labeling experience.
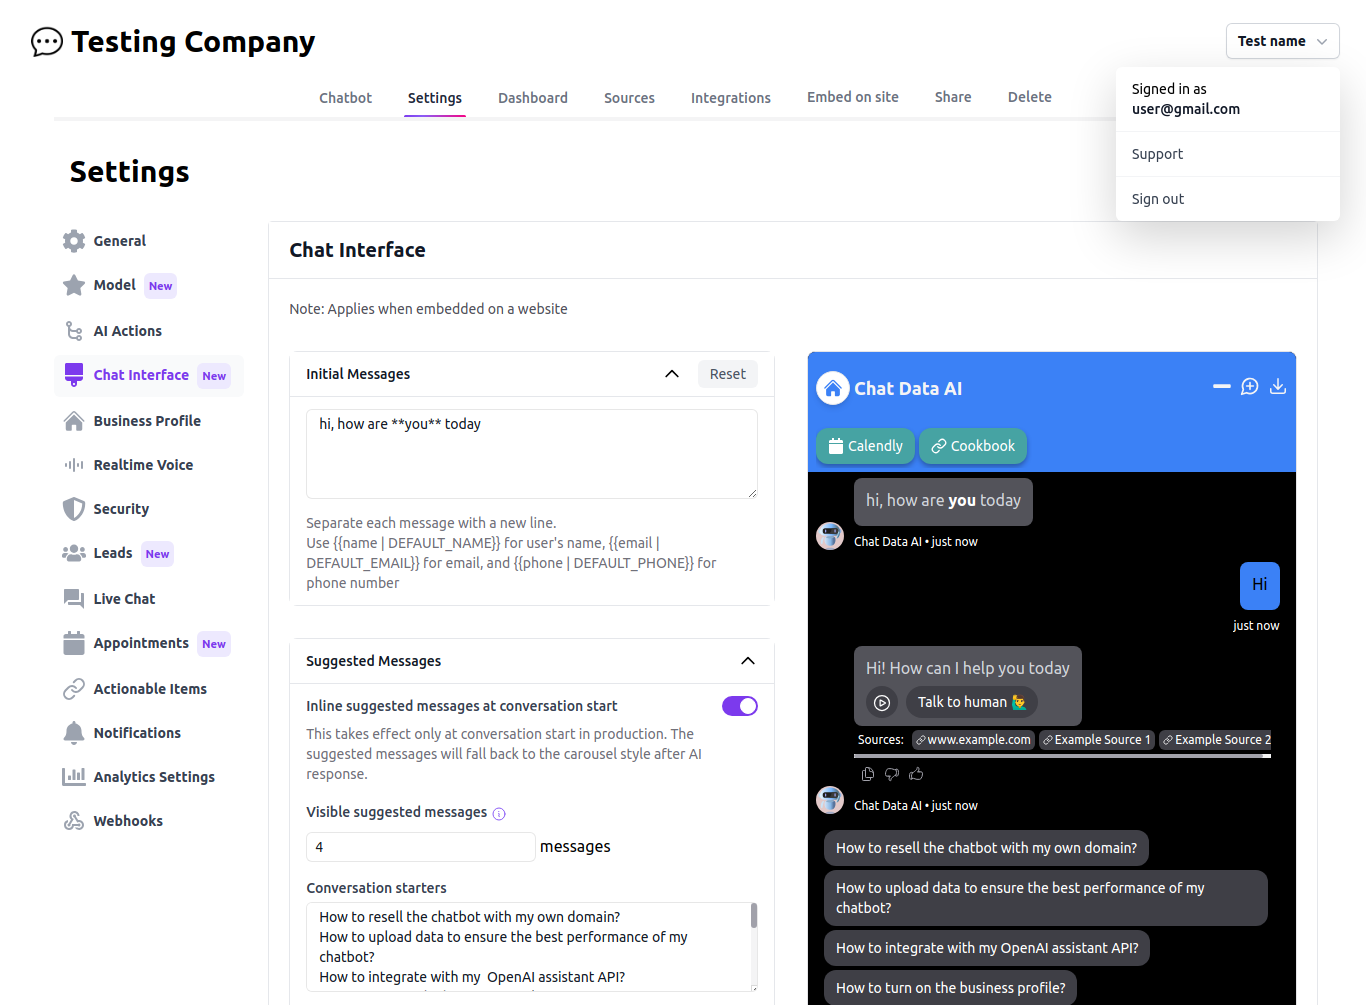
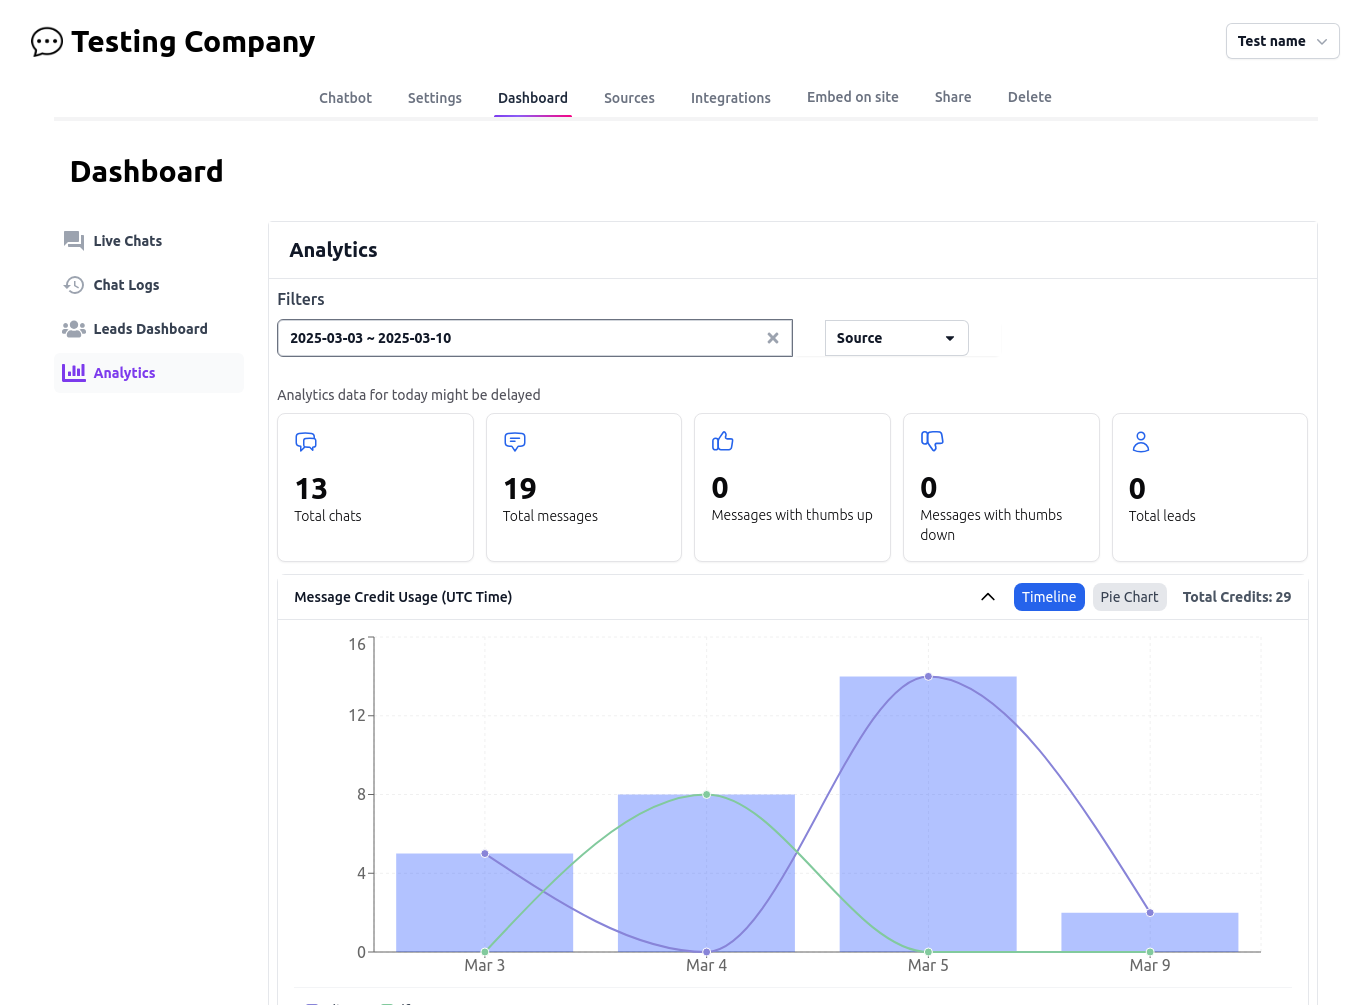
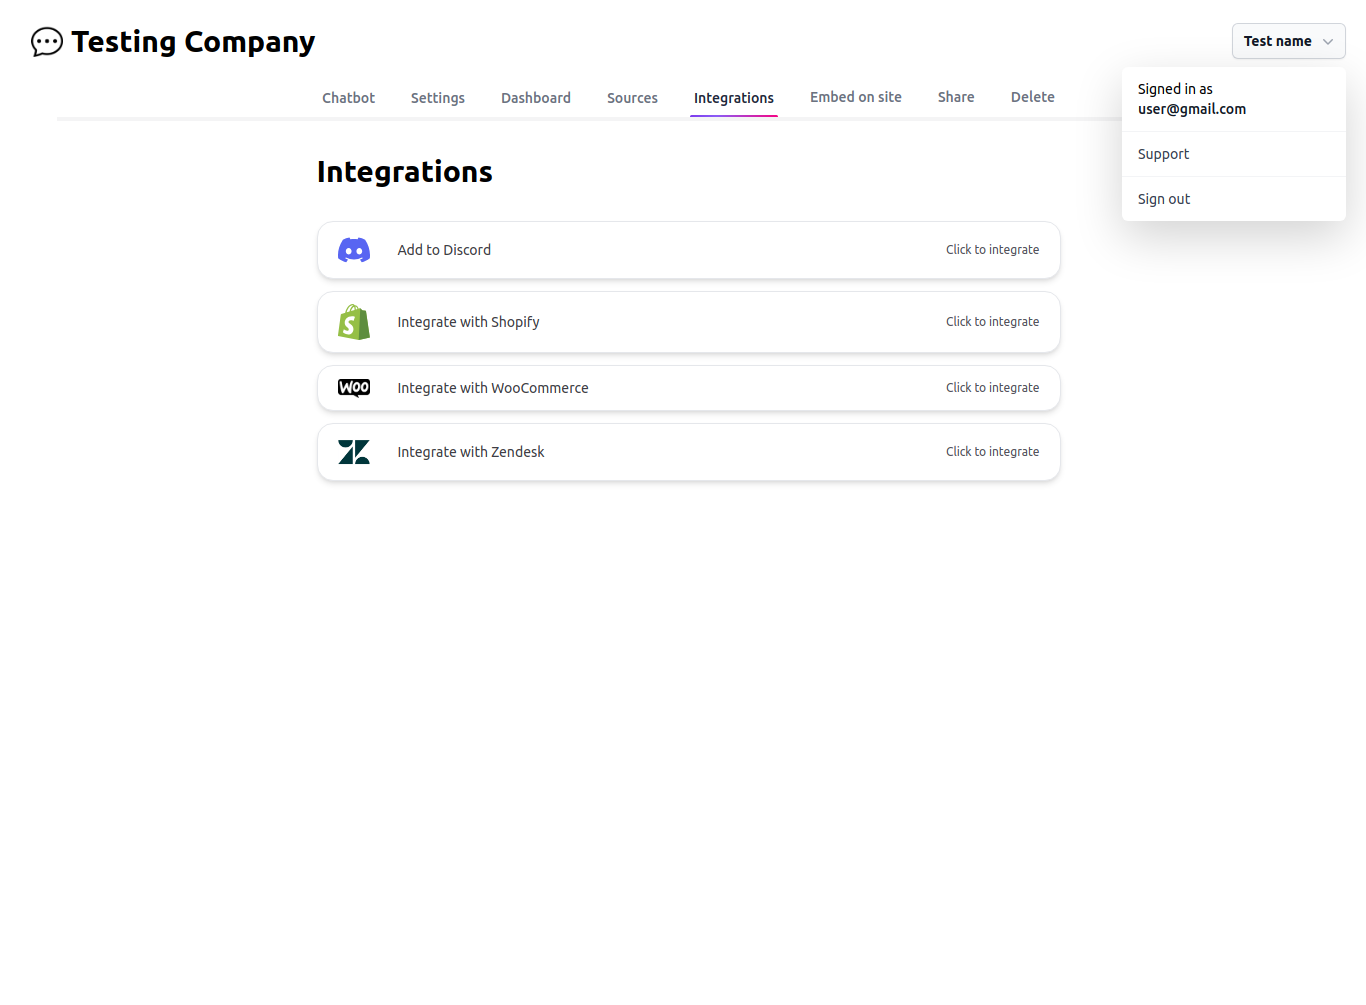
Beyond these limitations, users have full access to chatbot settings and dashboard features with admin privileges, as shown in the following screenshots:
Users can only access the specific chatbot you've authorized them to manage and cannot view other chatbots under your account. If a user deletes the chatbot, they will be redirected to your company's redirect URL.This means that you should build your own chatbot management panel where users can access their authorized chatbots and be redirected to our platform via SSO when selecting a specific chatbot.
Our system does not store user information and relies solely on the SSO session to display the user's email, name, and avatar. This ensures that your users' information remains secure and we don't have a copy.
How to set up SSO redirect
Prerequisites
- Your application has user accounts
- Your server is set up to generate single sign-on tokens
The process
Show the list of the chatbots that the user has access to.
Once the user click a chatbot, you send a request to your server to generate a single sign-on token for them, and then redirect them back to Chat Data in your whitelabeling domain.
Instructions
- Once the user click a chatbot, Send a request to your server to generate a single sign-on token.
- Redirect the user to the
http://your-whitelabeling-domain/api/v1/auth/ssoendpoint with the token as a parameter, making sure to include ssoToken, companyID, and redirect query parameters. (See below). You can use the chatbotId, name, email and avatar(optional) as the userInfo to generate the sso token by the private sso token we assigned to your account.
After building this page, add its URL in your admin settings. Use our tool to test that the redirect works, and then push it live to your users.
Snippet
The following JavaScript snippet will achieve step 2. You will have to write the part that requests the single sign-on token from your server.
async function redirectToChatbot({
  userInfo,
  chatbotId,
}) {
  try {
    // Make an API call to your backend to get the SSO token
    const response = await fetch('/api/get-sso-token', {
      method: 'POST',
      headers: {
        'Content-Type': 'application/json',
      },
      body: JSON.stringify({
        chatbotId: chatbotId,
        name: userInfo.name,
        email: userInfo.email,
        avatar: userInfo.avatar,
      })
    });

    const {ssoToken} = await response.json();

    // Handle the redirect
    window.location.href = `http://your-whitelabeling-domain/api/v1/auth/sso?companyid=${process.env.COMPANY_ID}&ssoToken=${ssoToken}&redirect=${encodeURIComponent(process.env.REDIRECT_URL)}`;
  } catch (error) {
    console.error('Error during SSO redirect:', error);
  }
}
If you have any questions or issues while setting this up, don't hesitate to reach out.