Multi-platform Integrations
Add Chatbots to Bubble Websites
Discover how to effortlessly integrate a chatbot widget into your Bubble Website.
Step 1: Set Up Your Chat Data Chatbot
To start, log into your Chat Data account. If you're new, you can sign up for a free account here. After logging in, build your chatbot by incorporating your knowledge sources. You can use various formats such as documents, text snippets, web pages, or Q&A pairs to establish your chatbot's knowledge base.
Looking for assistance in creating your Chat Data chatbot? Refer to our detailed setup guide.
Step 2: Get Your Chatbot's Embed Code
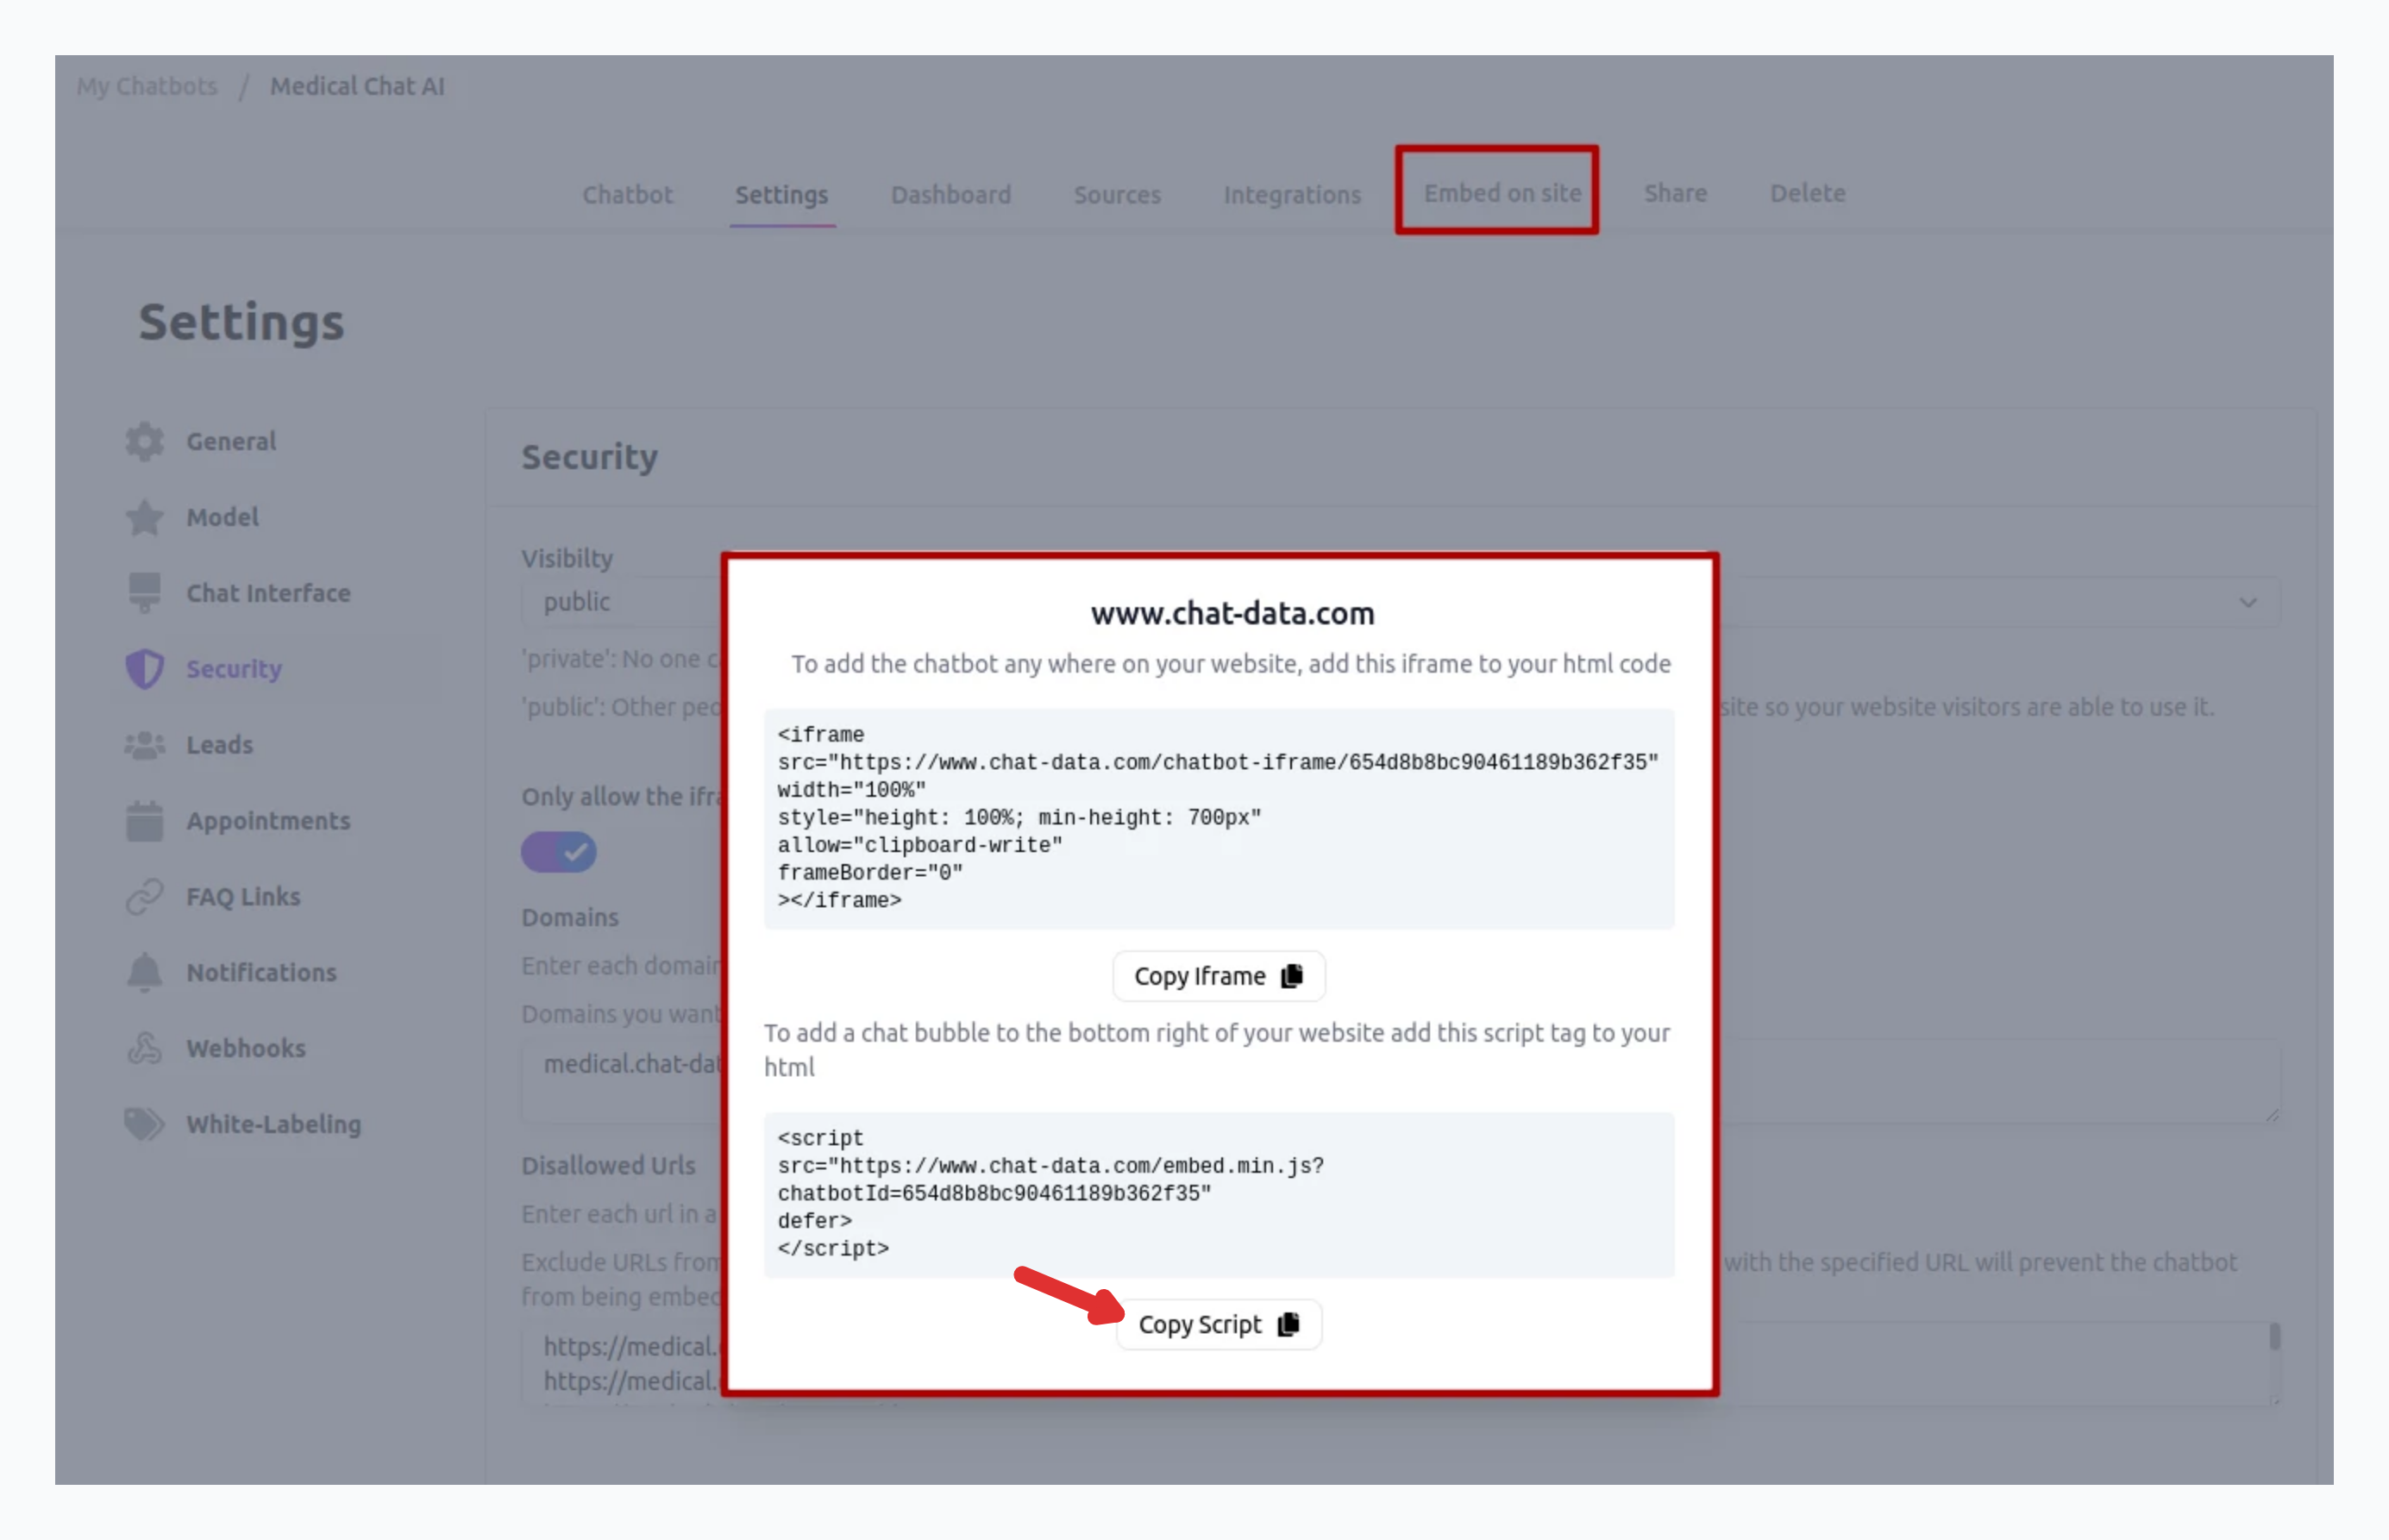
Go to our Website Integration Guide to retrieve your personalized Chat Data chatbot embed code. 
Once you've copied your embed code, you're ready to add it to your Bubble site.
Step 3: Embed Chat Data Chatbot on Your Bubble App
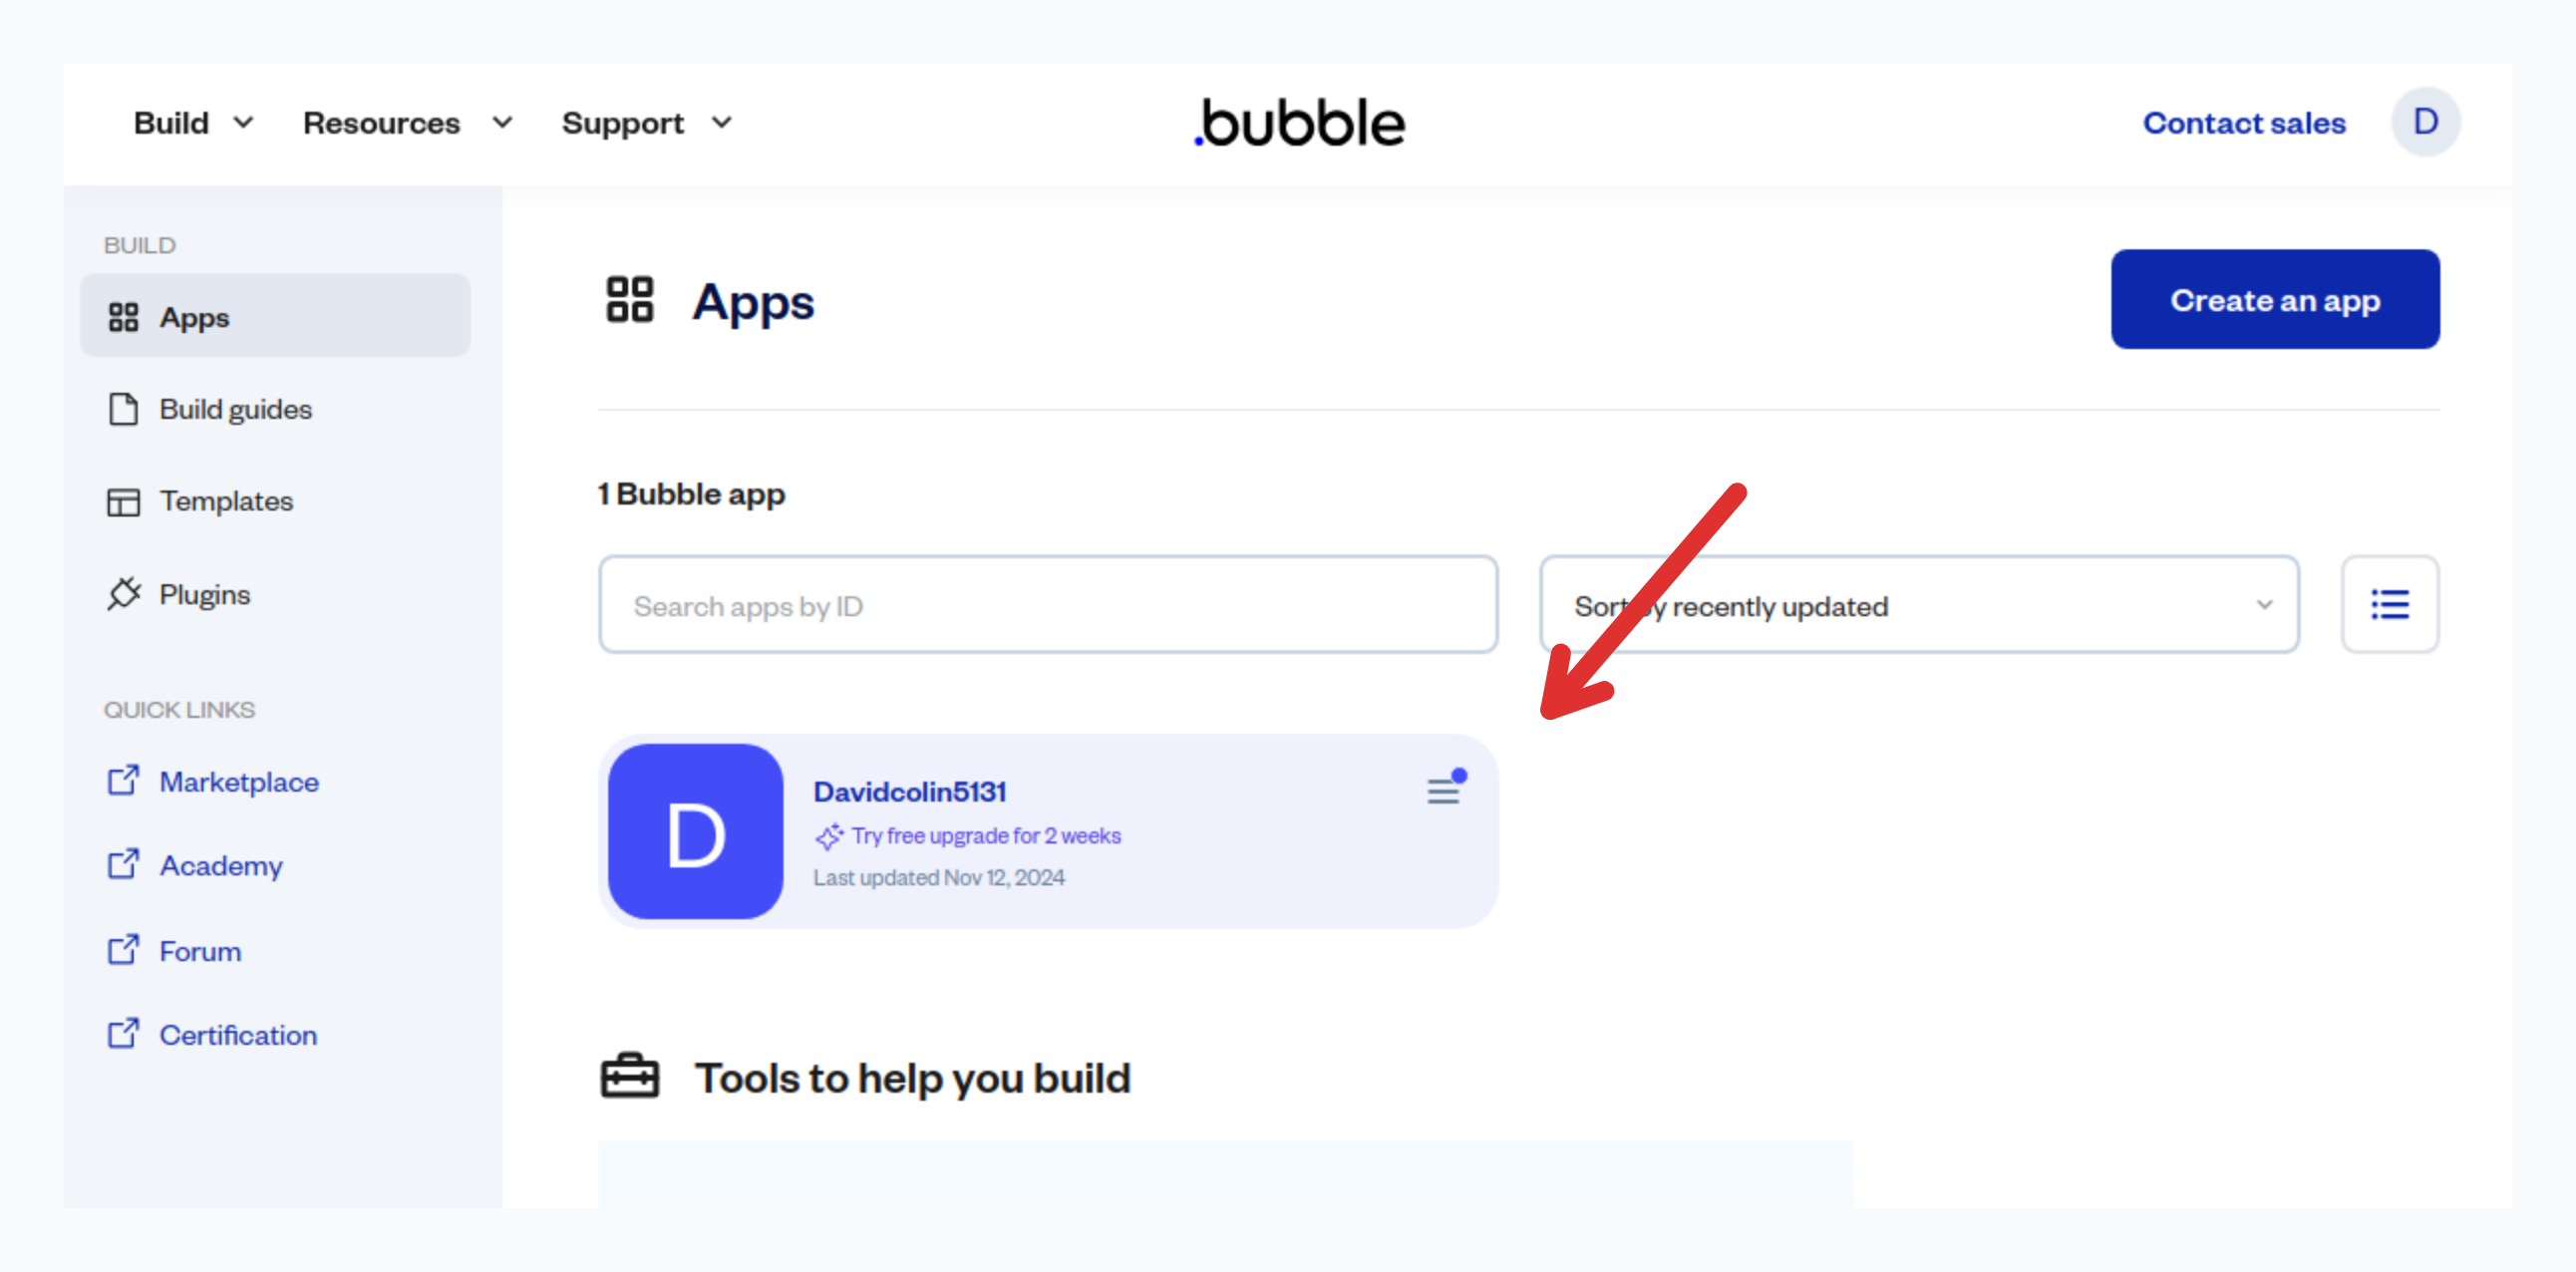
- After copying your Chat Data embed code, log into your Bubble account and navigate to your account dashboard.
- On your dashboard, select the Bubble app or website where you want to embed the chatbot and click the Launch Editor button after selecting the project.

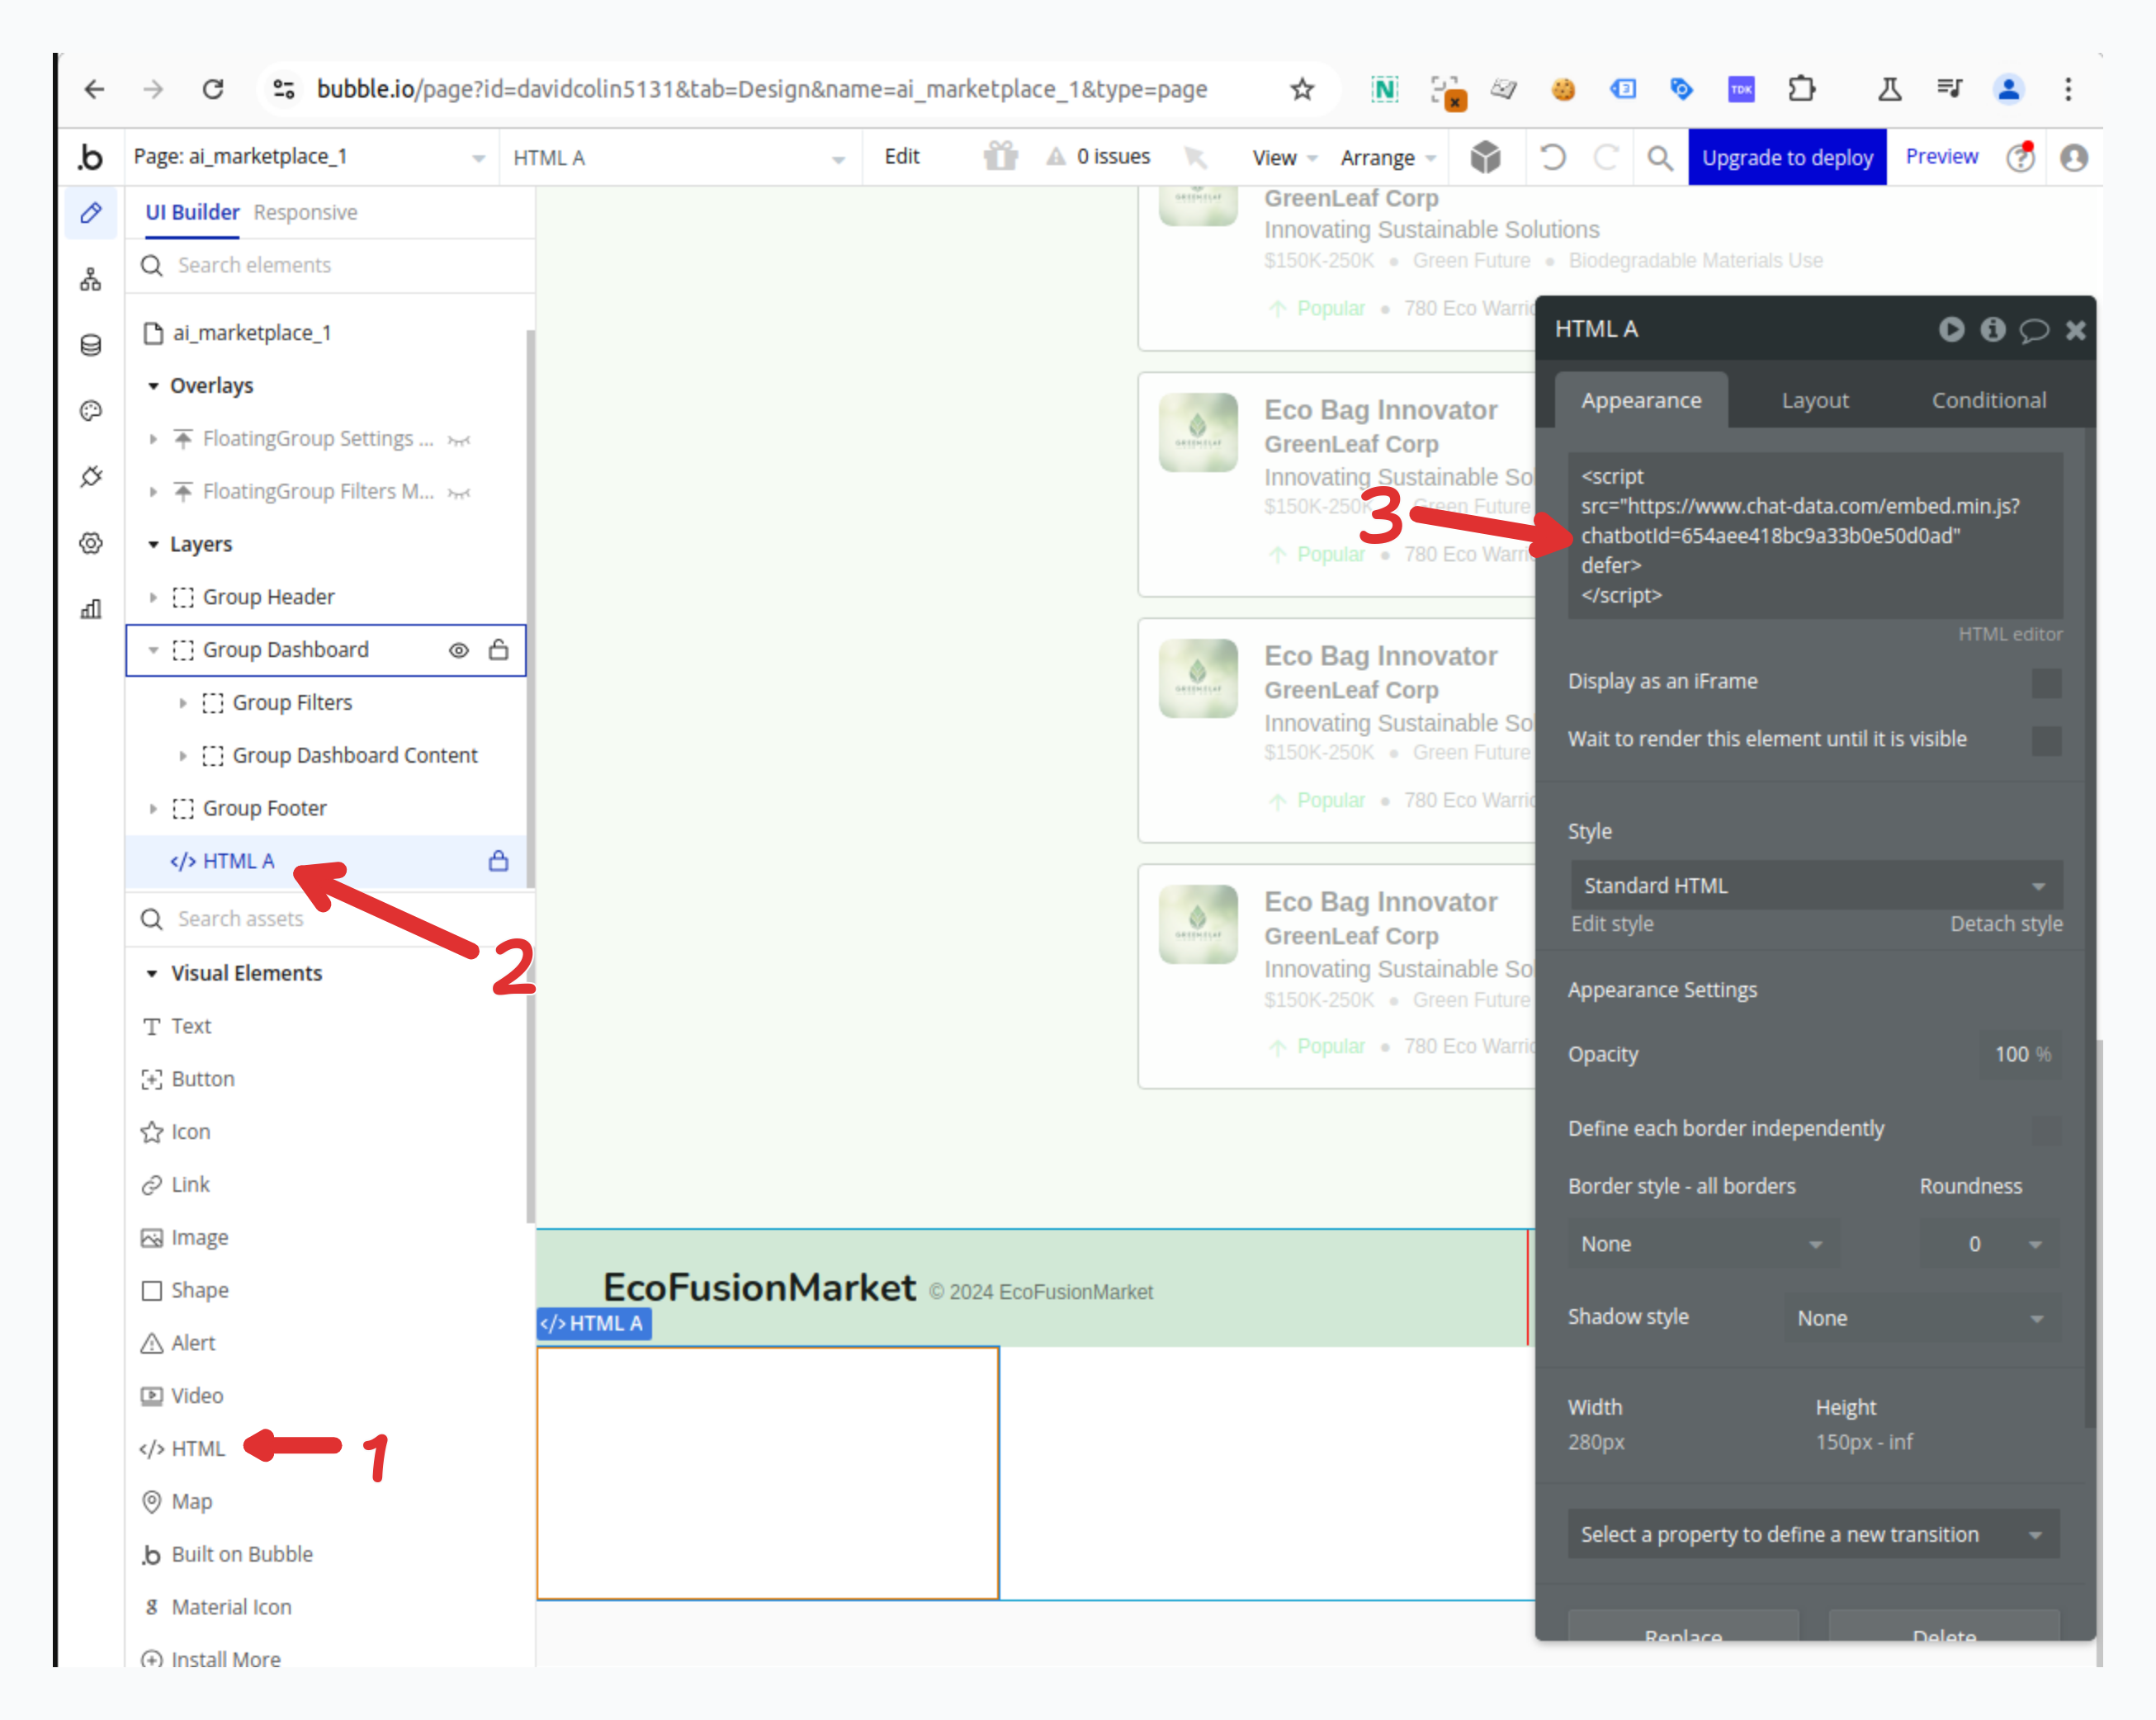
- When your Bubble Editor appears, scroll to the section of the page where you want to add the embed code.
- In the editor's left sidebar, find the HTML component and drag it to the desired section of the page. Place the HTML component inside the Group Footer component.

- Double-click the HTML component to open the code editor.
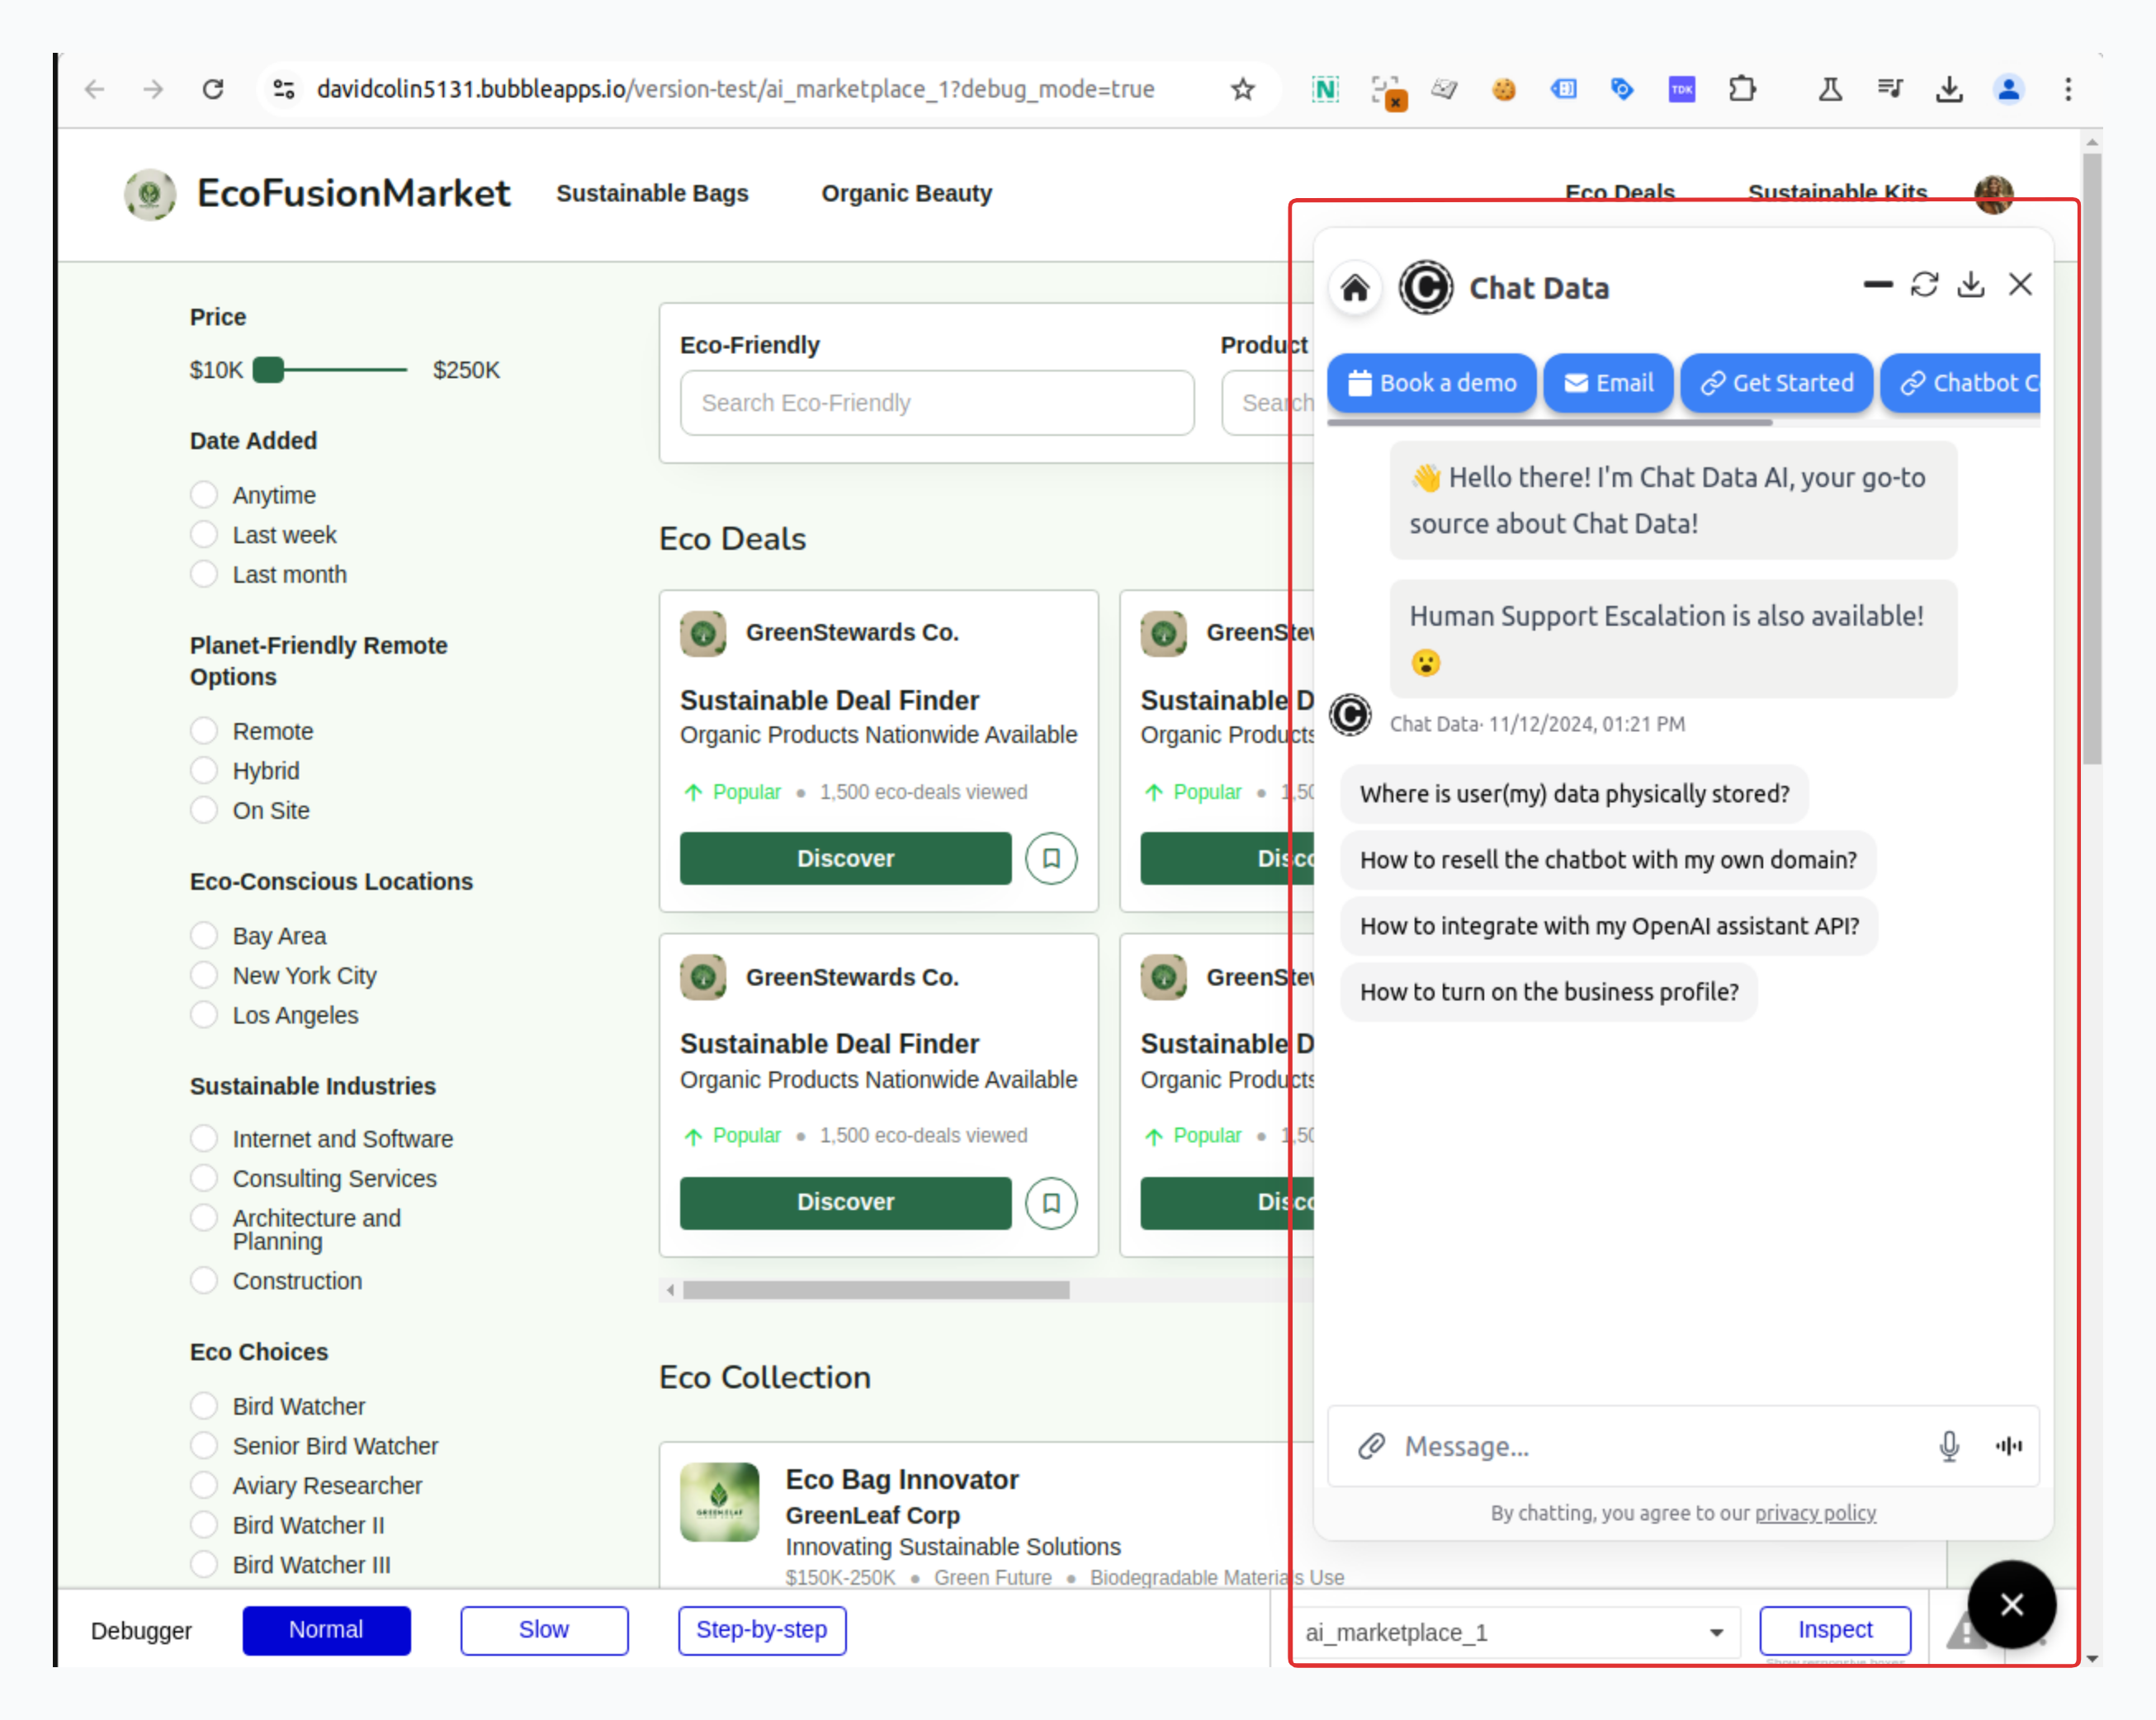
- Paste the embed code into the editor, and you should automatically see a floating chatbot icon in the bottom left corner of the editing canvas in the preview.

Excellent work! Your Chat Data chatbot is now successfully integrated with your Bubble website.
Tip: Want to change your chatbot's appearance? Visit your Chat Data dashboard, select your bot, go to Settings, and look for Chat Interface in the left menu to access all customization options.