Advanced Use Cases
Logged-in User Experience
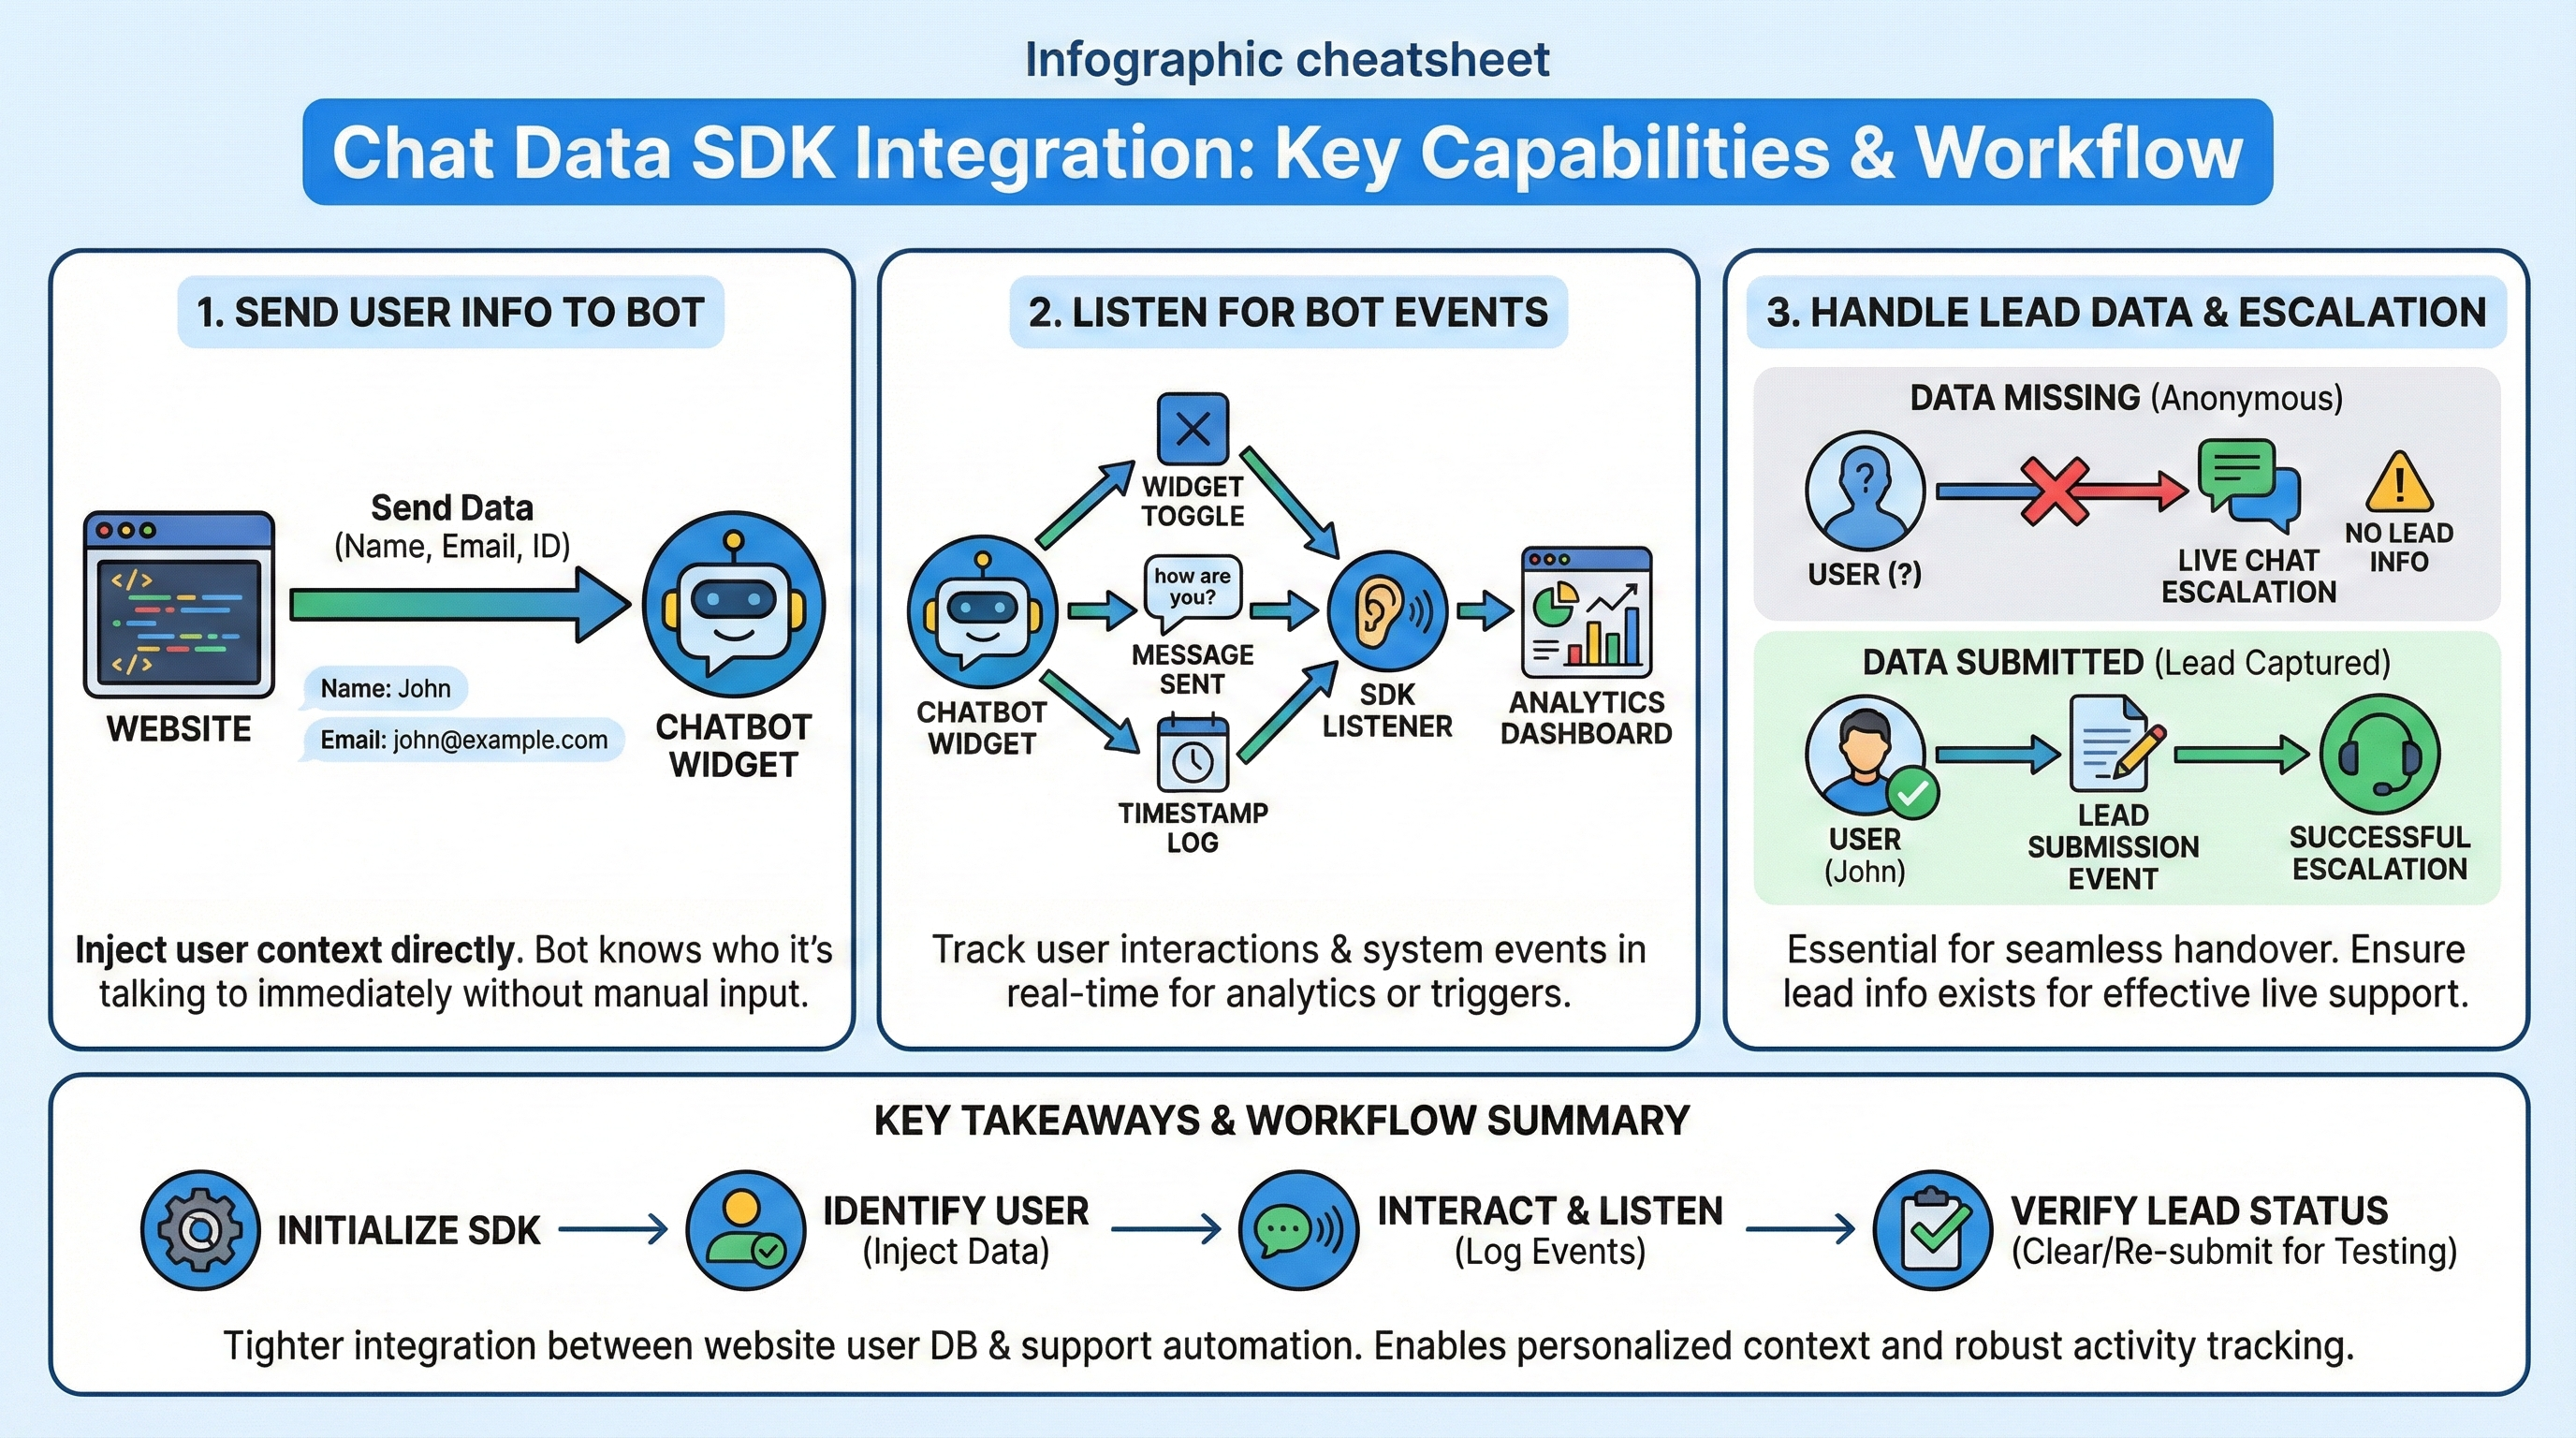
One of the biggest distinguished features that separate Chat Data from other competitors is that our AI chatbot can answer questions based on the logged-in user's information to create a personalized experience for each user.
Setting Up
You need to use the Chat Data SDK to send user information to the chatbot. Follow the instructions in the Send User Information From Website to Chatbot section to set things up.
To implement the SDK, add the following script to your website:
<script src="https://www.chat-data.com/static/chatbotsdk.min.js" data-chatbot-id="YOUR_CHATBOT_ID"></script>
Then, send your user's information using the SDK:
window.chatbot.sendUserInfo({
  name: "Customer Name",
  email: "[email protected]",
  phone: "1234567890",
  info: "Additional user information like plan type, account status, etc.",
  userId: "user_123456",  // User's unique identifier
  userHash: "a8f5f167f44f4964e6c998dee827110c"  // Security hash for authentication
}).then(response => {
  console.log("User info sent successfully");
}).catch(error => {
  console.error("Error sending user info:", error);
});
For a complete implementation example, check out our Chat Data SDK documentation.
User Authentication
Authentication Parameters
For secure integration with authenticated users, the SDK supports two special parameters:
- userId: A unique identifier for the user (limited to 50 characters)
- userHash: A security hash to validate the user's identity (limited to 100 characters)
These parameters help ensure that only properly authenticated users can chat with the chatbot, adding an extra layer of security to your integration.
Important
The userHash MUST be generated on your server to maintain security. Never generate this hash on the client-side or expose your secret key in client code.
Enabling User Authentication
To enable user authentication for your chatbot:
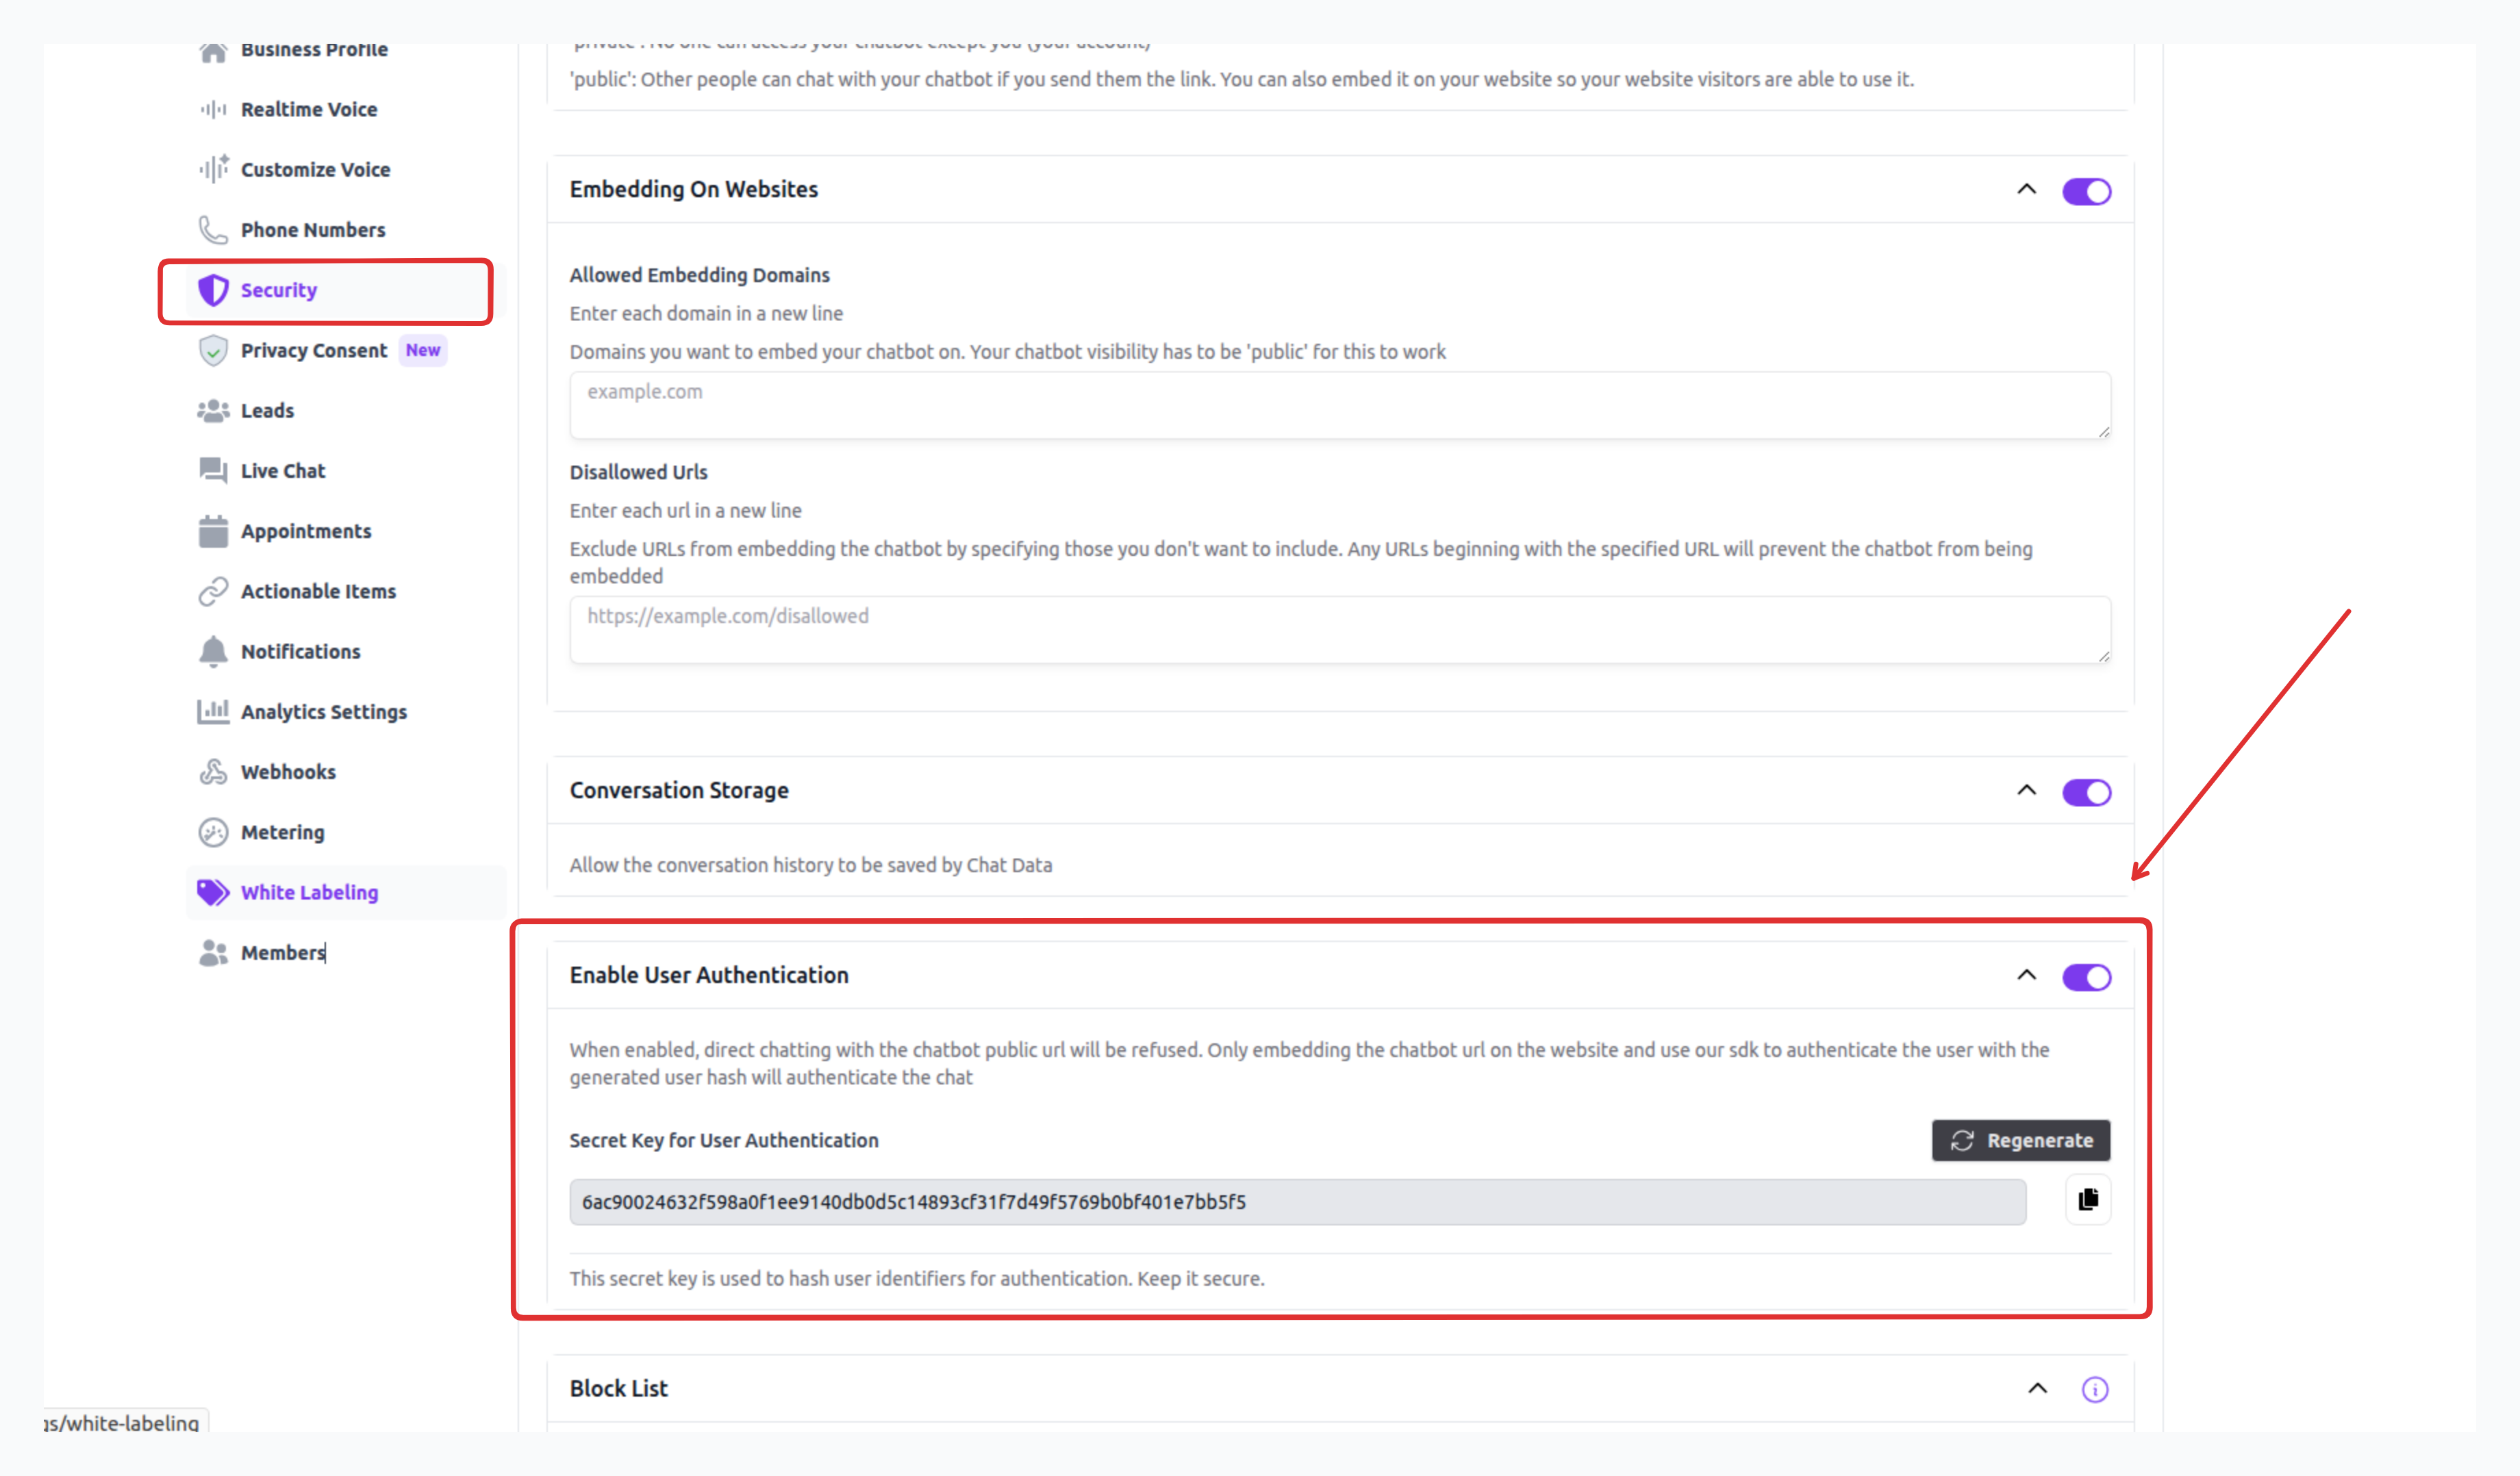
- Navigate to Settings > Security tab in your Chat Data dashboard
- Turn on the User Authentication toggle
- After enabling, you'll be provided with a Secret Key for User Authentication as shown below:
When User Authentication is turned on, important restrictions apply:
- Direct chatting with your chatbot through its public URL will be rejected.
- Users must interact with your chatbot through either chatbot widget or iframe embedding after authenicated by the chatbot SDK
- The SDK must send the correct userId and userHash to the chatbot before allowing any conversation
- Without proper authentication, attempts to chat will be rejected
Third-party integrations
Chatting through third-party integrations such as WhatsApp, Facebook Messenger, and Instagram will not be affected by this setting and will continue to function normally.
Implementation Example
On your authentication server, you might generate a security hash based on your user's ID and a secret key, then pass both the userId and the generated userHash to the chatbot:
// Server-side code (Node.js example)
const crypto = require('crypto');
const secretKey = process.env.AUTHENTICATION_SECRET_KEY;

// Generate the hash
const hash = crypto.createHmac("sha256", secretKey).update(user.id).digest("hex");

// Client-side code
const userId = user.id;
const userHash = hash; // Received from server

window.chatbot.sendUserInfo({
  userId: userId,
  userHash: userHash,
  name: user.name,
  // Other user information...
});
Customizing the Chatbot Initial Message
You can customized the initial message of the chatbot with the user's name by following the Initial Message template in the Customize the Chatbot Interface section. 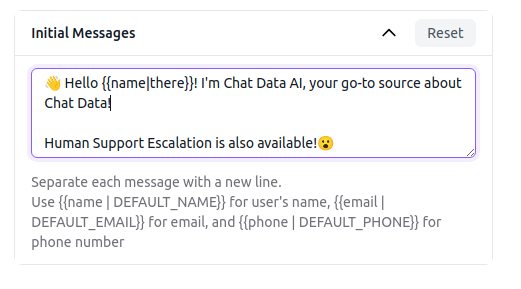
Example
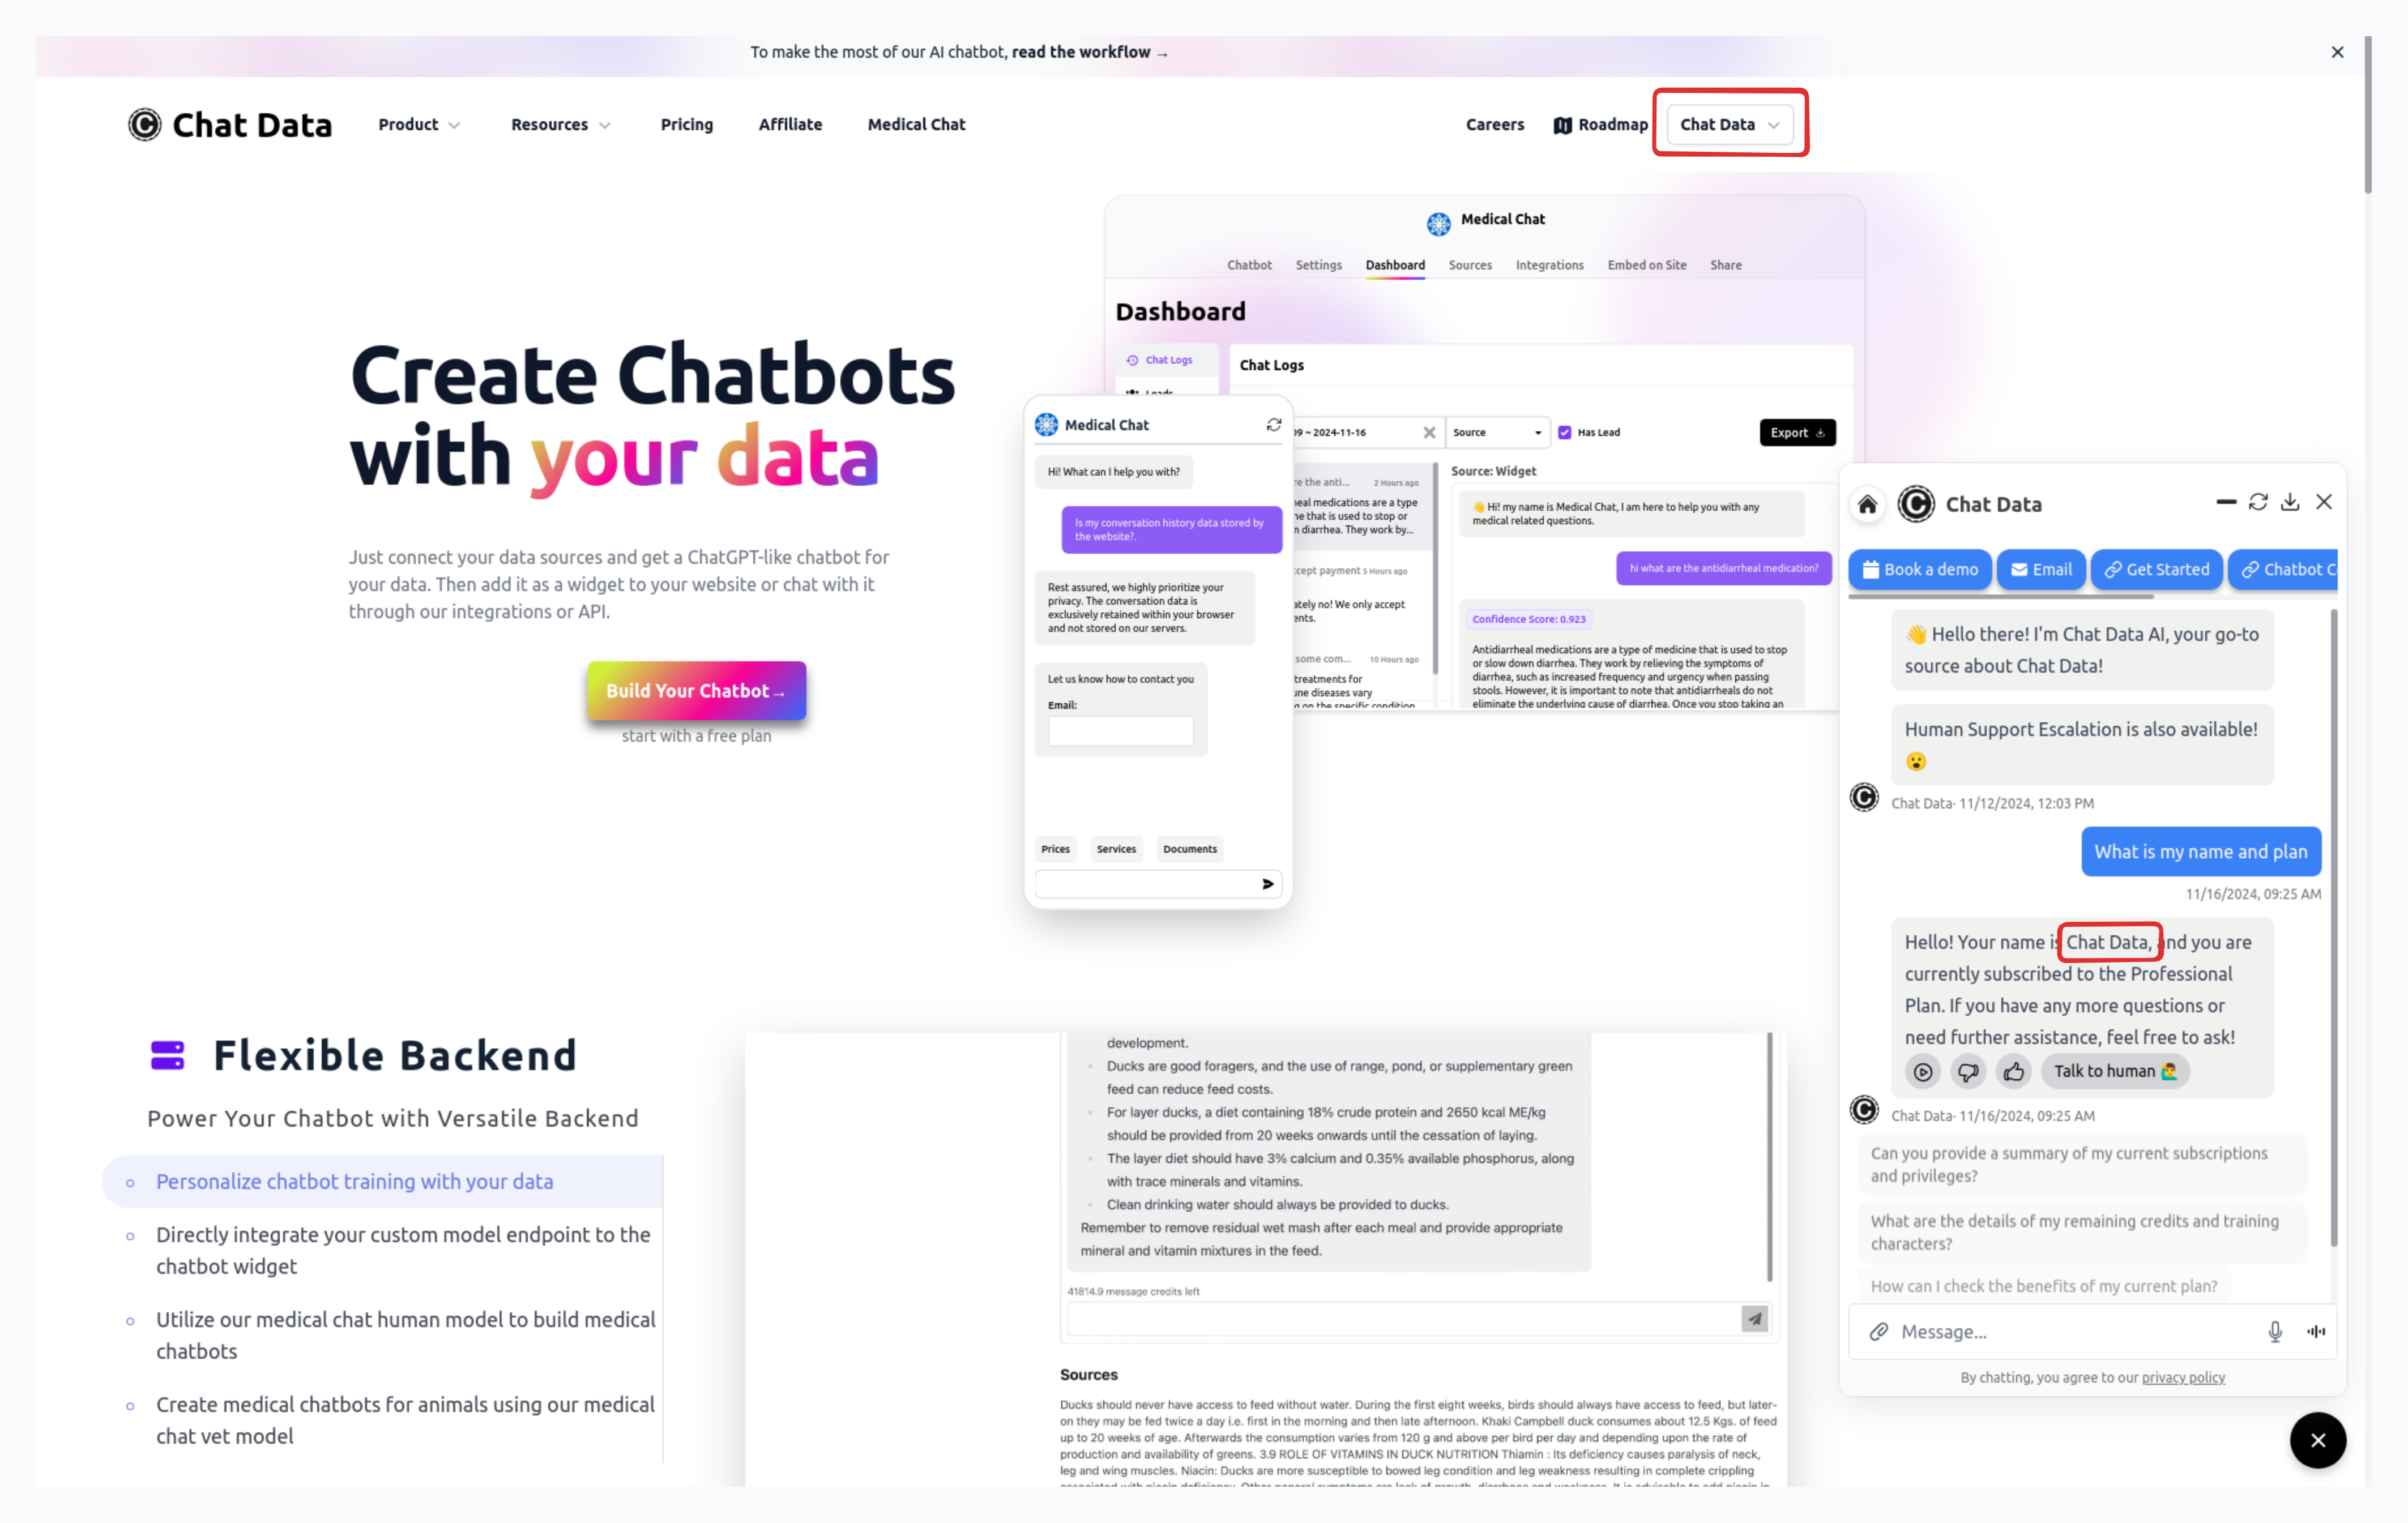
You can experience the logged-in user personalization by visiting https://www.chat-data.com/ and asking the chatbot about your name, current message credits, and the current plan you subscribed to. Our AI chatbot creates personalized answers based on your information, as shown in the example below.
SDK Demo Example
You can also visit our SDK demo page to explore how the website can send user information and listen for events from the chatbot widget using the SDK.
Watch our video tutorial that demonstrates how to implement and use the Chat Data SDK:
To try out a live demo of the Chat Data SDK, visit our SDK Demo Page.
Frequently Asked Questions
How do I personalize the chatbot for logged-in users?
Use the Chat Data SDK on your website and call sendUserInfo with fields such as name, email, phone, and extra account context. That information becomes available to the chatbot so it can tailor responses to the logged-in user.
What are userId and userHash used for?
They are used for authenticated chatbot access. userId is the user's unique identifier, and userHash is the security hash that proves the identity is valid before the chatbot allows the conversation.
Where must the userHash be generated?
UserHash must be generated on your server, not in client-side code, so your secret key is never exposed in the browser.
What changes when User Authentication is enabled?
Direct chatting through the chatbot's public URL is rejected. Users must chat through the widget or an iframe after the SDK has sent the correct userId and userHash. Third-party channels like WhatsApp, Facebook Messenger, and Instagram are not affected.